You may also like…
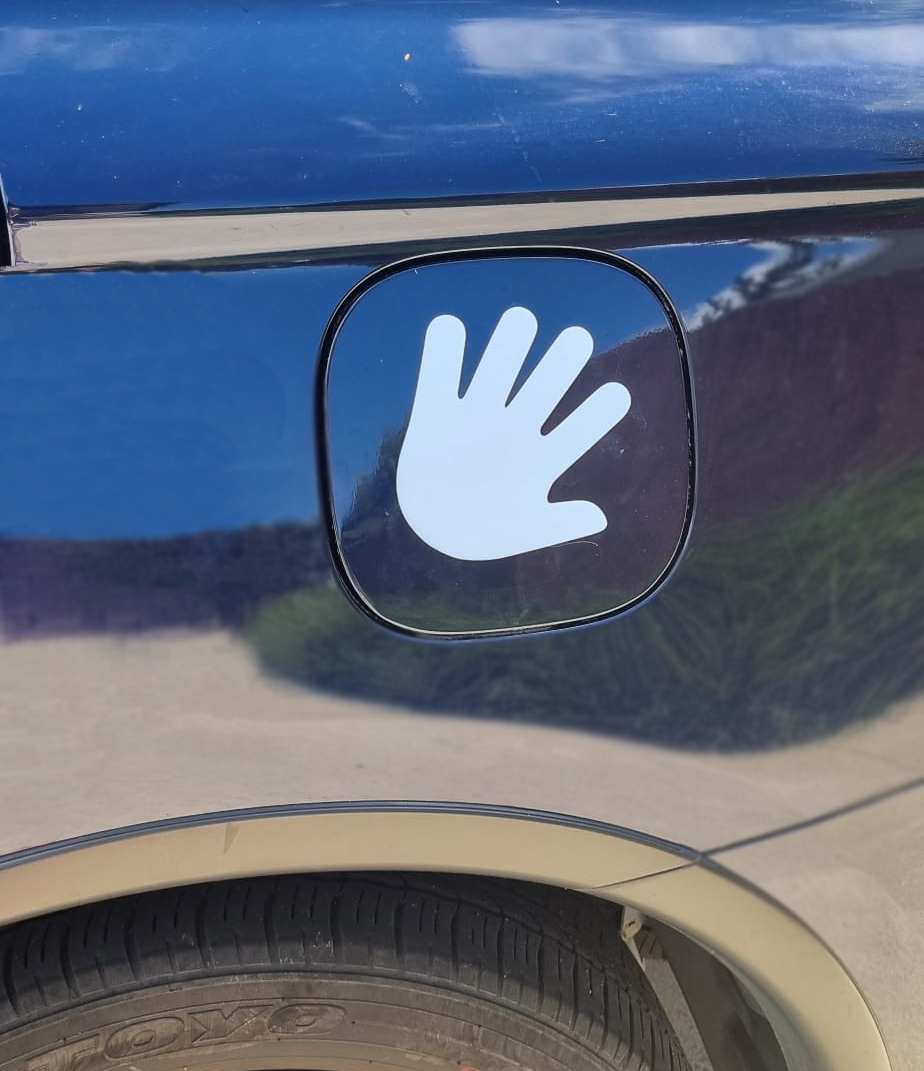
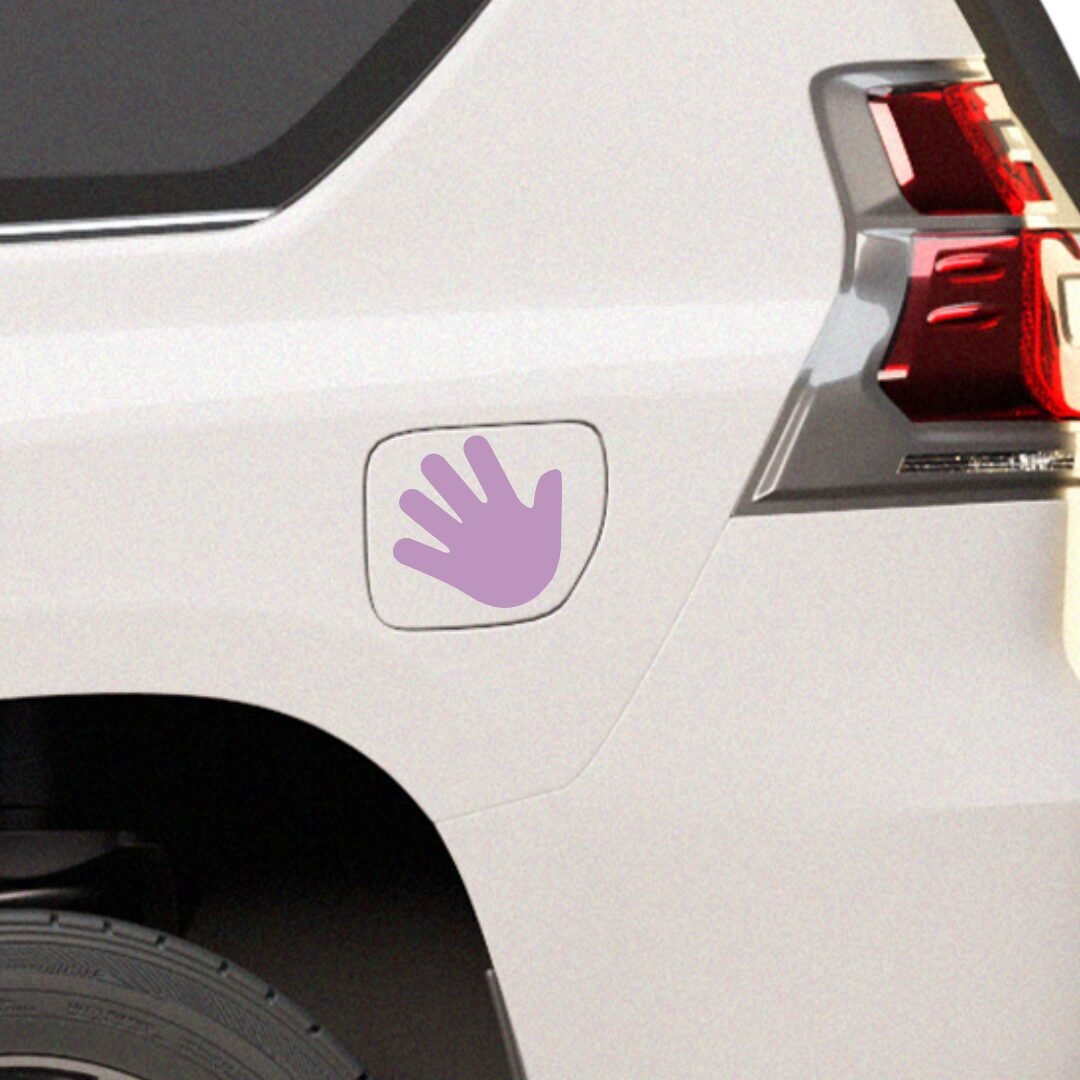
Little Hands Car Decals
$12.99
Make car park safety easy with our Little Hands Car Decals! Designed for kids to place their hands on while you load groceries or buckle in siblings, these NZ-designed and made decals help prevent wandering and keep little ones safe.
✨ Fun colours & designs to make safety engaging
✨ Removable & car-safe – Won’t damage your vehicle
✨ Durable & long-lasting – Made to withstand years of use
A simple and effective way to teach road safety!
What's Included
1x Hand Car Decal - 13x13cm
Make car park safety fun and easy with our Little Hands Car Decals! Designed to give kids a safe, designated spot to place their hands while you load groceries, secure younger siblings, or get everyone in the car.
These removable, non-damaging decals stick to your car door or side panel, teaching kids to stay in one spot instead of wandering off or stepping into traffic. With cute colours and fun designs, little ones will love using them—turning safety into a simple habit!
Proudly NZ designed & made, shipped from Tauranga.
✨ Features:
✅ Encourages safety – A fun way to keep kids still in busy car parks
✅ Durable & long-lasting – Designed to last for years
✅ Removable & car-safe – Won’t damage your vehicle
✅ Easy to apply & remove – Sticks securely but peels off cleanly
✅ Cute colours & designs – Makes safety fun for little ones
✅ NZ Designed & Made – Quality you can trust
🌟 Why You’ll Love It:
✔ Keeps kids safe & in one place while you load the car
✔ Great for busy parents with multiple kids
✔ Helps teach road safety in a fun, engaging way
✔ A simple, effective solution for stress-free parking lot moments
Turn everyday routines into safe habits with our Little Hands Car Decals! Order yours today and make car park safety a breeze! 🚗✨
Additional information
| Collection | Decals |
|---|
Tips
1. Prepare the Surface: Ensure the wall is clean, smooth, and completely dry before starting.
2. Position and Apply:
- Slightly peel the backing from the decal.
- Place part of the decal on the wall in the desired position.
- Slowly peel back the rest of the backing while using a credit card to smooth out any air bubbles as you go.
3. Finishing Touch: Once fully applied, gently go over the decal with the card to ensure it adheres smoothly and firmly.
Name Decals:
Some of our name decals feature intricate designs, so we include a transparent transfer tape to ensure easy application and perfect alignment. Follow these steps for a smooth and professional finish:
1. Prepare the Surface: Ensure the wall or surface is clean, smooth, and dry.
2. Peel a Corner: Gently peel back a small corner of the white backing from the decal. The decal should remain attached to the transparent transfer tape.
3. Position the Decal: Place the exposed corner of the decal in your desired location, ensuring it’s properly aligned.
4. Apply Gradually: Slowly peel away the white backing while smoothing the decal onto the surface. Use a credit card or similar tool to press the decal down and remove any air bubbles as you go.
5. Secure the Design: Once the backing is completely removed, go over the entire decal with the card to ensure it’s fully adhered and bubble-free.
6. Remove the Transfer Tape:
- Carefully peel away the transparent transfer tape, leaving the decal adhered to your surface.
- Do this slowly and ensure the decal does not lift.
- If any part of the decal begins to lift, use a card to smooth it out and press it firmly back onto the surface. Then, continue peeling the transfer tape away.
These steps will ensure a flawless, professional finish for your wall decals! 🌸
FAQs
Can I request a custom colour?
While we stock a selection of colours, we can often source other colours upon request. Reach out to us at hello@littlewhimsy.co.nz, and we’ll do our best to help!
Can you create a custom design for me?
If you’re looking for something different, we’d love to hear your ideas! We’re always working on new designs and may be able to create something special just for you.
How long do the decals last?
We only use high-quality vinyl designed to last for years, so your decals will look fantastic for a long time.
Are the decals reusable?
Our decals are designed to be removable but not necessarily reusable. Removing them may cause damage or reduce their adhesive properties, so they are best for one-time application.
Where are the decals made and shipped from?
All our products are proudly designed and made in New Zealand, shipped directly from Tauranga, Bay of Plenty.
How long does it take to ship my order?
Since all our decals are made to order to ensure top quality and variety, we aim to ship orders within 1–3 business days.
What surfaces can the decals stick to?
Our decals work best on smooth, clean, and dry surfaces, including most painted walls and wallpaper. Lightly textured walls may work, but we recommend testing a small area first.
Will the decals damage my walls?
No! Our removable vinyl is wall-safe and won’t damage surfaces or leave sticky residue when removed.
How far do decal packs go?
-
- Large Pack: Covers approximately 3.2m at a standard wall height of 2.4m.
- Small Pack: Covers approximately 1.6m.
Spacing recommendations can be found under the 'What's included' tab, you can space decals further for extended coverage.
How big are name decals?
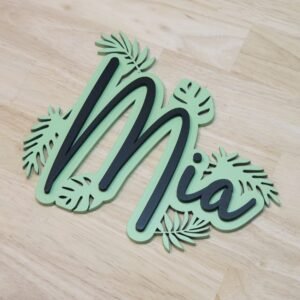
Our name decals are roughly 25x25cm depending on the design.
Do you accept returns or exchanges?
As each decal pack is made to order, we cannot offer returns or exchanges unless the product is faulty. If you have any issues, please contact us at hello@littlewhimsy.co.nz, and we’ll be happy to assist.
What is the easiest way to apply the decals?
- Prepare the Surface: Ensure the wall is clean, smooth, and completely dry before starting.
- Position and Apply:
- Slightly peel the backing from the decal.
- Place part of the decal on the wall in the desired position.
- Slowly peel back the rest of the backing while using a credit card to smooth out any air bubbles as you go.
- Finishing Touch: Once fully applied, gently go over the decal with the card to ensure it adheres smoothly and firmly.
For name decals:
Some of our name decals feature intricate designs, so we include a transparent transfer tape to ensure easy application and perfect alignment. Follow these steps for a smooth and professional finish:
- Prepare the Surface: Ensure the wall or surface is clean, smooth, and dry.
- Peel a Corner: Gently peel back a small corner of the white backing from the decal. The decal should remain attached to the transparent transfer tape.
- Position the Decal: Place the exposed corner of the decal in your desired location, ensuring it’s properly aligned.
- Apply Gradually: Slowly peel away the white backing while smoothing the decal onto the surface. Use a credit card or similar tool to press the decal down and remove any air bubbles as you go.
- Secure the Design: Once the backing is completely removed, go over the entire decal with the card to ensure it’s fully adhered and bubble-free.
- Remove the Transfer Tape:
- Carefully peel away the transparent transfer tape, leaving the decal adhered to your surface.
- Do this slowly and ensure the decal does not lift.
- If any part of the decal begins to lift, use a card to smooth it out and press it firmly back onto the surface. Then, continue peeling the transfer tape away.
These steps will ensure a flawless, professional finish for your wall decals! 🌸
If you have more questions, don’t hesitate to get in touch – we’re here to help! 😊

